In this tutorial, you’ll learn how to create and deploy your Firebase app to multiple environments.
Let’s consider this example, we’ve got a Vue.js app that is hosted on Firebase. We would like to separate the production version from the staging. We can do that in these 3 steps:
Create new Firebase projects
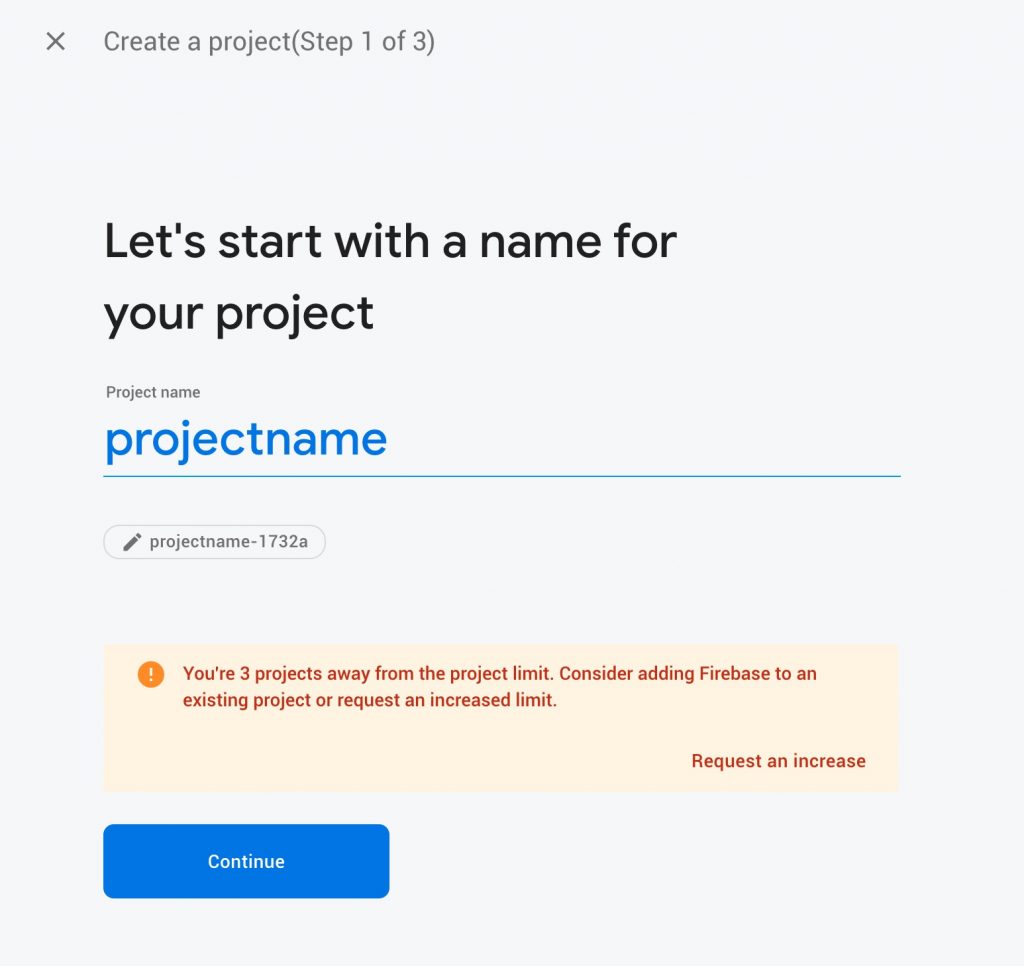
First of all, start a unique project for each environment e.g. projectname-production & projectname-staging.

Link your existing app with a Firebase projects
When you run firebase init to initialise Firebase hosting you can select what project you want to deploy your app to.
$ firebase init
$ ? Which project do you want to add? (Use arrow keys)
> projectname-production
  projectname-staging
It will create a .firebaserc config file and set your default project to projectname-production.
To link your existing app with another Firebase project use the following command:
$ firebase use --add
$ ? Which project do you want to add? (Use arrow keys)
  projectname-production
> projectname-staging
? What alias do you want to use for this project? (e.g. staging) staging
Your .firebaserc file will now look like that:
{
  "projects": {
    "default": "projectname-production",
    "staging": "projectname-staging"
  }
}
Deploy to multiple Firebase projects
You can now switch your environments to deploy your app to another host/project:
$ firebase use default # sets environment to the default alias
$ firebase use staging # sets environment to the staging alias
Alternatively, you just want to deploy your latest build you can run a one-time command:
$ firebase deploy -P staging # deploy to staging aliasIf you find this post useful, please let me know in the comments below and subscribe to my newsletter.
Cheers,
Renat Galyamov
Want to share this with your friends?
👉renatello.com/deploy-to-multiple-environments-firebase
PS: Make sure you check other Vue.js tutorials, e.g. How to trigger a mouse click in Vue.js, Detect mobile device in Vue.js.